about apaBoard
apaBoard 2 was presented at NI Hungary in Debrecen, on October 18th 2016
apaBoard Educational FrameworkInfos about the apaBoard Educational Framework
Note for labs 2015 MITx 11.133x - Implementation and Evaluation of Educational Technology
(outdated info from 2014-2015)
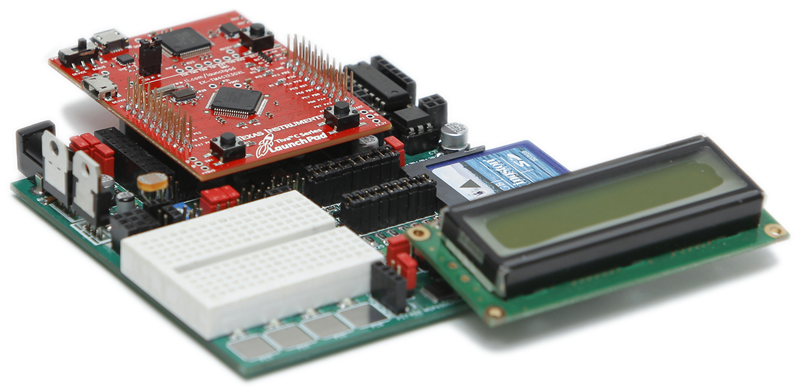
apaBoard version 0.5 - multi-tool for easy-build devices ready for IoT

apaBoard multimedia website 2014 - You can IoT the world!
Step by step examples
Move the mouse over the buttons step and you will see the wiring
“Predictions say there will be 50 billion connected devices by 2020 and in our lifetime we will experience life with a trillion-node network” (TI). Those young people, who can build these devices, will shape the world.
What is apaBoard for TivaC Launchpad?
That far-seeing society, economy or even that device will be successful which helps young people to be able to understand IoT.
It’s hard to make complex experiments without deep knowledge but we must do them. So we need a tool for successful experiments which also provides the connectivity of experiments by its various modules.
A successful experience can establish the interest which later helps to learn easily and to become motivated. The ARM CortexM4 TivaC LaunchPad, the Energia IDE and apaBoard are a good start for students. With professional Integrated Development Environments like Code Composer Studio, IAR Systems Embedded Workbench or ARM®’s Keil™ microVision it can be used in higher education as well.
How does apaBoard work?
Servo driver step-by step example
Using high technology we have to reshape educational practice: first build devices successfully and after that become interested in learning processes.
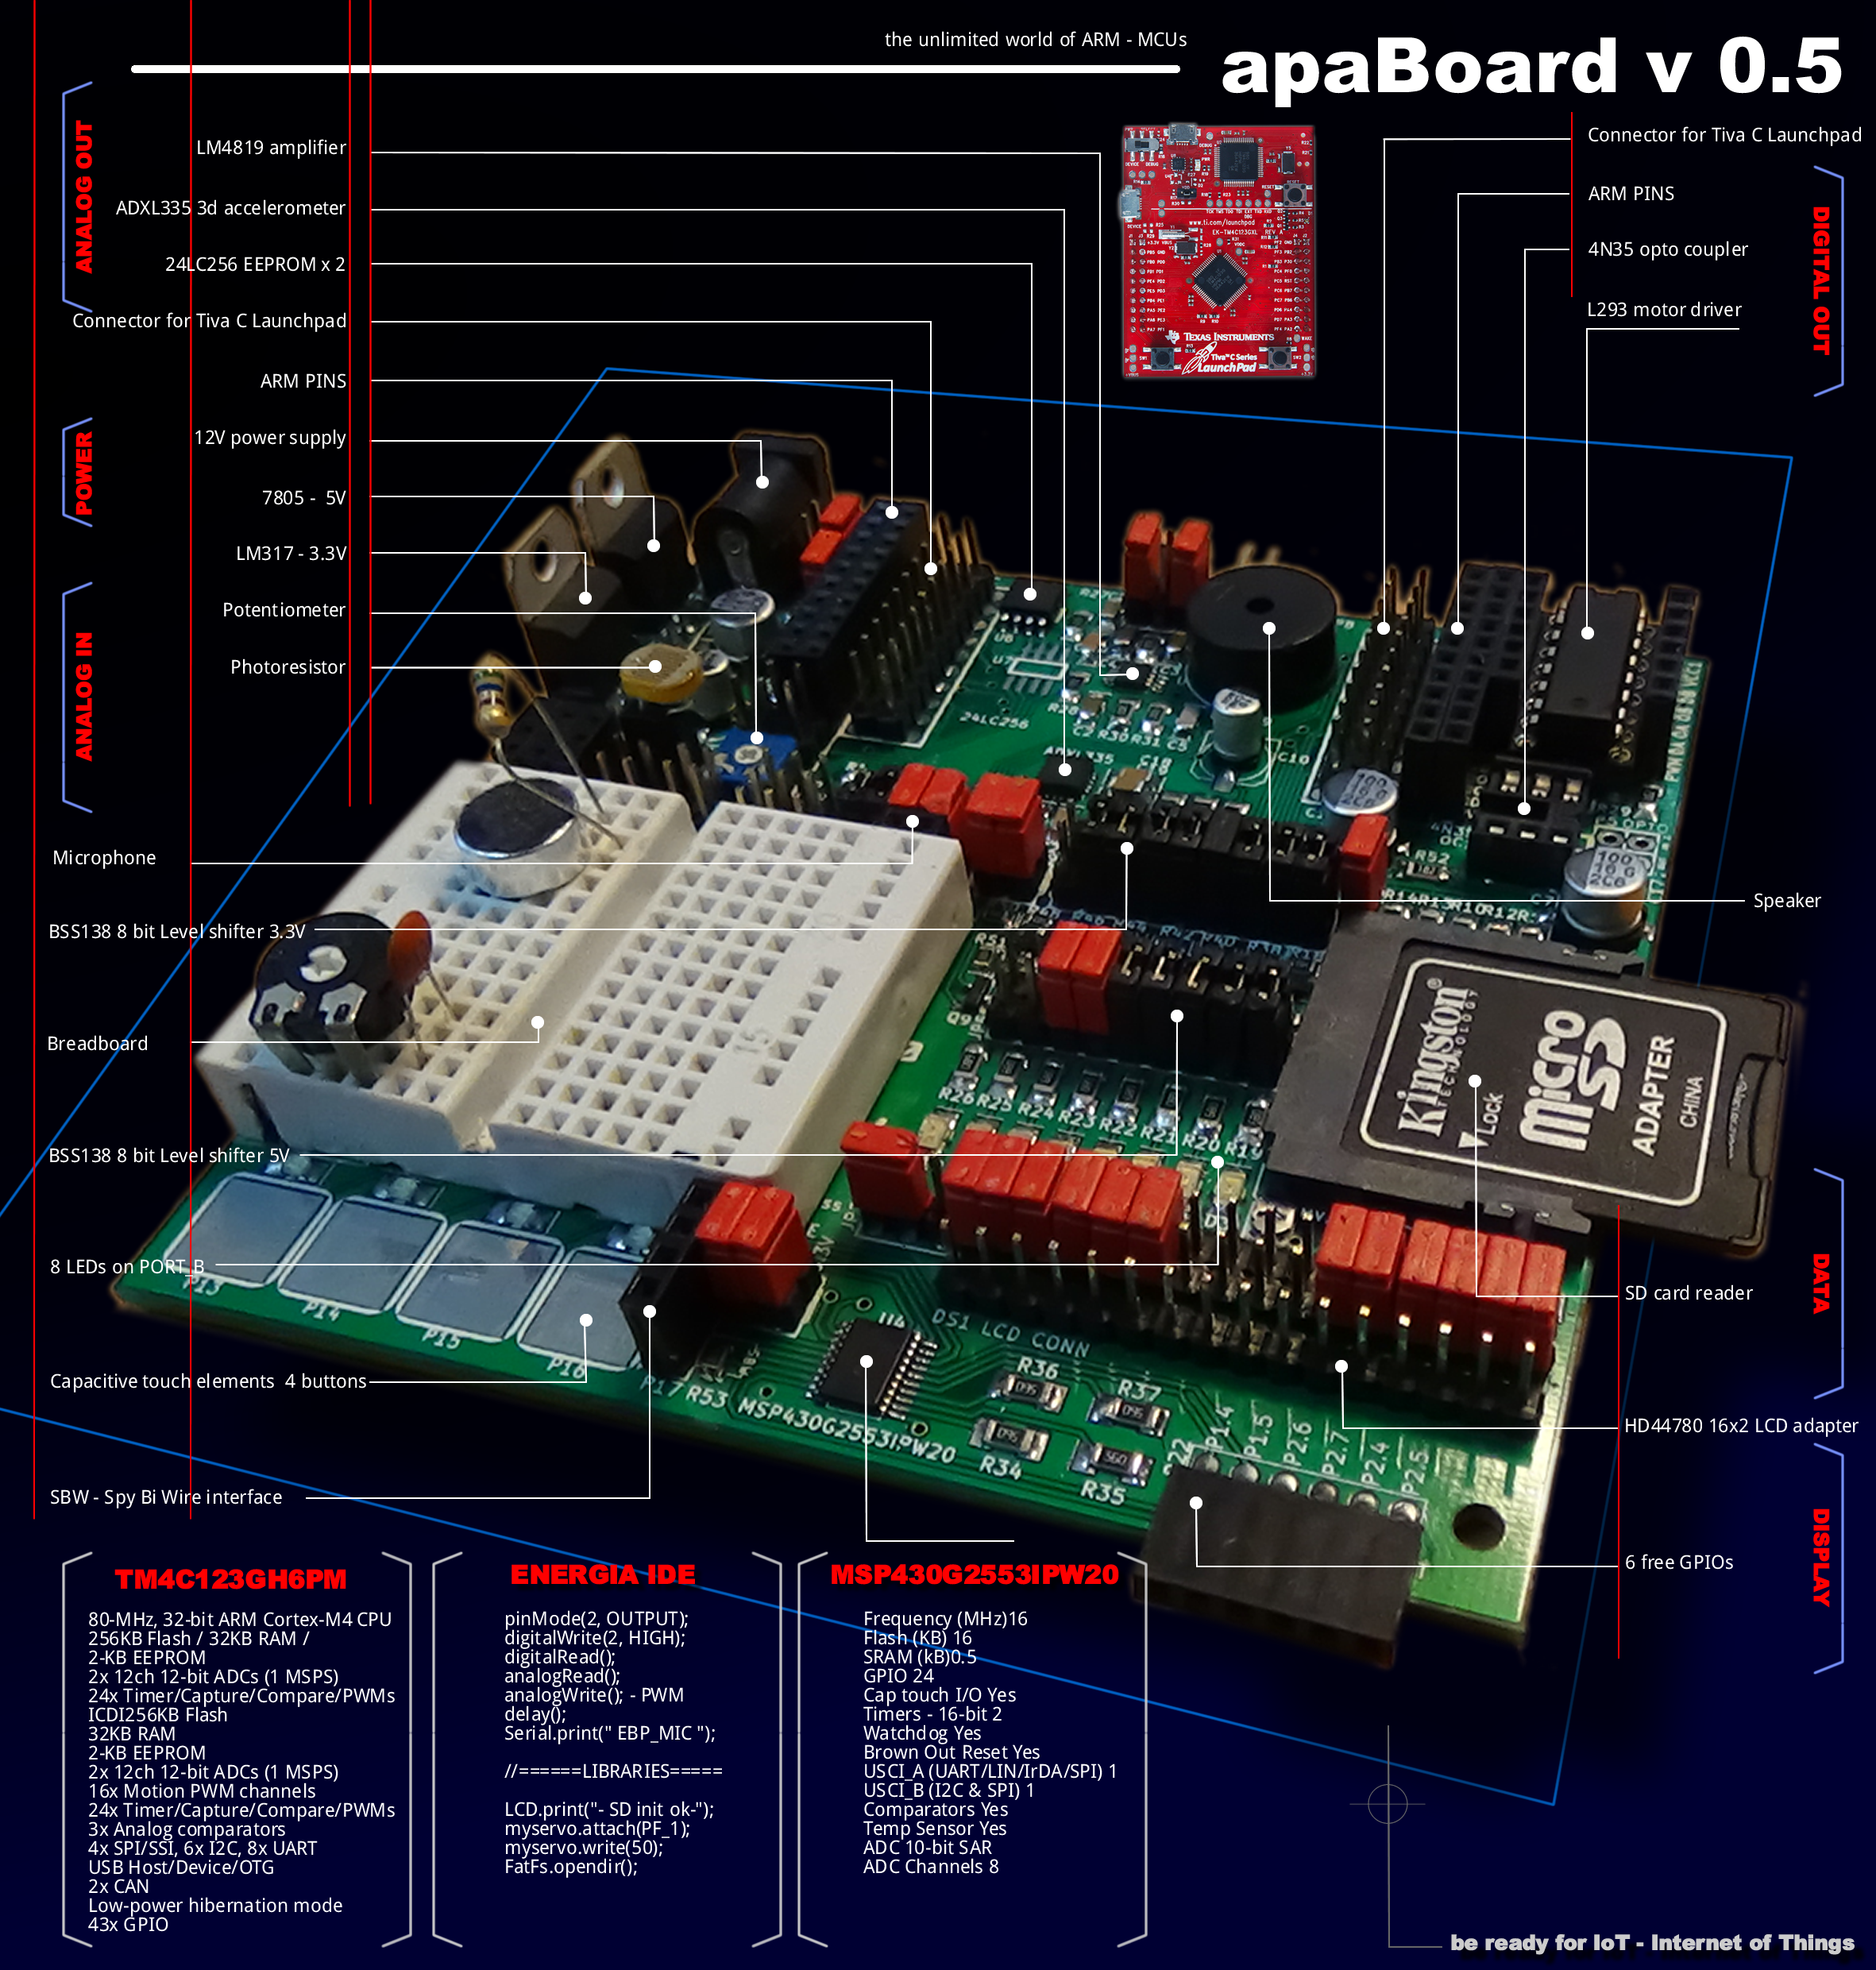
I have designed, built and tested the apaBoard’s hardware which has 34 modules and 161 components.
Understanding and usage of embedded systems can be simple with my device – this is what I want to prove. So I decided to hold presentations in schools and workshops. My mentor, Dr Krisztián Kertész from The Institute of Technical Physics and Materials Science supported me during the presentations.
In order to awaken interest in microprocessors and embedded systems the best solution seemed to be presenting simple and spectacular experiments that can be implemented at home as well. The order of the experiments was based on the idea to eventually prove even to the less interested students how many-sided these devices are.
The scheme of the presentation was the following: the current → cables → circuits → printed circuits → resistance → resistance models (voltage, current dividing) → analog signals → digital signals → PWM → embedded system, components, sensors, motors → the possible experiments with apaBoard.
I have been working on a method that would enable the presentation and better understanding of the apaBoard and embedded systems. It is a two hour presentation supported by experiments and explanations that guides the young, interested people from generating electrical current to the embedded systems. I presented for more than eight hundred people in Hungary and at European Contest for Young Scientist is Warsaw, Poland.
A flyer addresses students on their own language and invites them to the presentation. The Quick Start Guide, the poster of modules, the package box and its website make apaBoard ready for distribution.
At the same time with the development, the information of the apaBoard became accessible on the https://eskolar.com domain under the https://apa.eskolar.com subdomain powered by MediaWiki which is a Wikipedia platform that I chose for the reason that it provides a free access to edit, improve and complete the materials for anyone. I uploaded at about hundred videos to the YouTube video-sharing website that are embedded into the Wiki website as well. All materials are open source.
Foundational experiments start from analog and digital input, output, ADC, LCD display, accelerometer, 8 bit level shifter, led matrix, sound input, output, amplifier, SD, EEPROM memories, capsens, servo, stepper, DC motor control I2C, SPI, UART data transmission and so on.
My intention was to make a generally usable device which enables the acquirement of knowledge in a relatively inconspicuous way and, by the acquired knowledge, provides experience in creating new devices.
Why do we need the apaBoard?
IoT will be designed in the future, so it’s not easy to understand it in present. Using high technology we have to reshape educational practice: first build devices successfully and after that become interested in learning processes. Understanding and usage of embedded systems can be simple with my device – this is what I want to prove.
It’s hard to make complex experiments without deep knowledge. So we need a tool for successful experiments which also provides the connectivity of them by its various modules. A successful experience can establish the interest which later helps easy learning and to become motivated. ARM CortexM4 TivaC LaunchPad, Energia IDE and apaBoard are a good start for students and also can be used in higher education with professional IDEs.
“Predictions say there will be 50 billion connected devices by 2020” (TI). Those young people who can build these devices will shape the world.
That culture, economy or even that device will be successful which helps young people to be able to understand IoT. The apaBoard’s hardware has 34 modules and 161 components. Foundational experiments start from analog, digital input-output, ADC, LCD, ADXL335 accelerometer, 8 bit level shifter, led matrix, sound input, output, amplifier, SD, EEPROM, capsens, servo, stepper, DC motor control I2C, SPI, UART data transmission, etc.
What is special about apaBoard project?
My goal was to prove that young people can easily understand, learn and build complex smart electronic devices ready for IoT using the advantage of up-to-date communication methods like Youtube, Mediawiki, Facebook and new technologies. Technology reshaped the educational methods and these methods help us in developing new technologies.
In electric engineering hi-tech devices mean that developers have to make complex and successful experiments. This isn’t simple, as we have to use many wires, devices, components, many types of components, embedded systems, debug devices, programming interfaces.
The apaBoard is a modular device which connected to a TivaC ARM LaunchPad and programmed with Energia IDE can be used as an easy method of learning and using the acquired knowledge to develop working devices. I have collected the most important group of experiments and everyone can start building the desired device/ that (particular) device he is interested in.
How did you get to the idea to work on this project?
I’ve been interested in electronics since I was 10, and my room was always full with wires, boards, circuits, sensors and all kind of electrical components, experiments, devices. So, it was always a problem, to make some place.
My father came up with the idea to put all my successful experiments on a single board, that’s why my device got the name apaBoard – apa means father in Hungarian. And that idea that I improved was the starting point of my first home made DIY board. I’ve learned a lot since this had happened. The apaBoard reached the 5-th hardware design version now with 2 microcontrollers and I have some ideas what to add and improve in the next version.